
I hummed and hawed over the title for this blog post. You see I wanted to call it the secret to a great harvest or the secret to a great garden. Truth is you need to feed the soil, not the plants. If you feed the soil, it will feed your plants. I had a really successful harvest in my kitchen garden last year but I paid attention to what I started with.
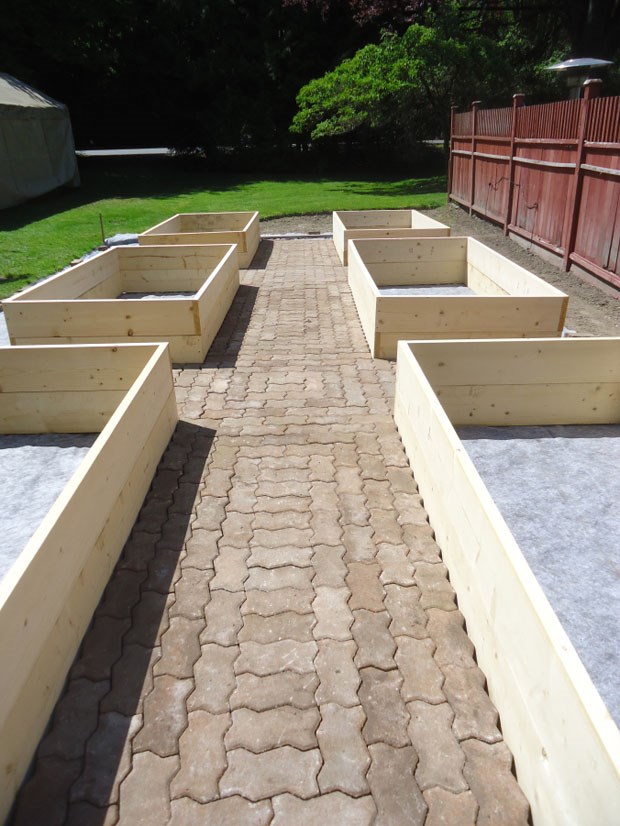
We had built six raised beds and it was time to fill them with soil. Not all soil is created equal. I asked around the community garden community to see where they got their soil and if they were happy with it. Everyone seems to have their favourite soils and amendments to use each year. I went to the local garden center and quizzed him about the soil he was selling by the yard. You see we needed 12 cubic yards to fill the raised beds. I decided on the best garden soil the center had and it wasn’t cheap. The thing is if you are starting fresh like we were, you need to start with a good base for soil. Each spring you will need to top dress with some amendments such as manure, shredded leaves or compost. Each year you will lose a certain percentage of soil from garden roots and wind and water erosion.
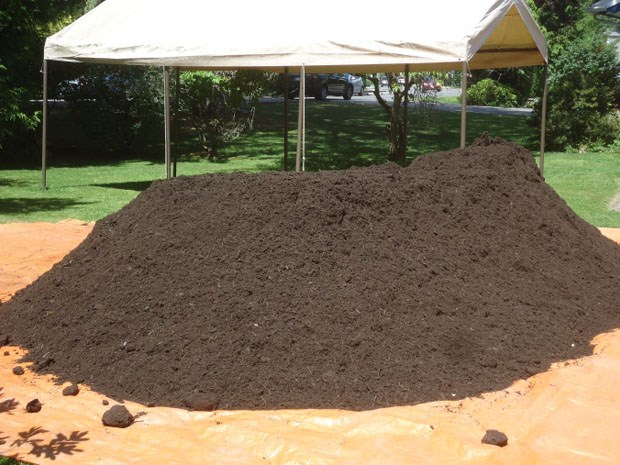
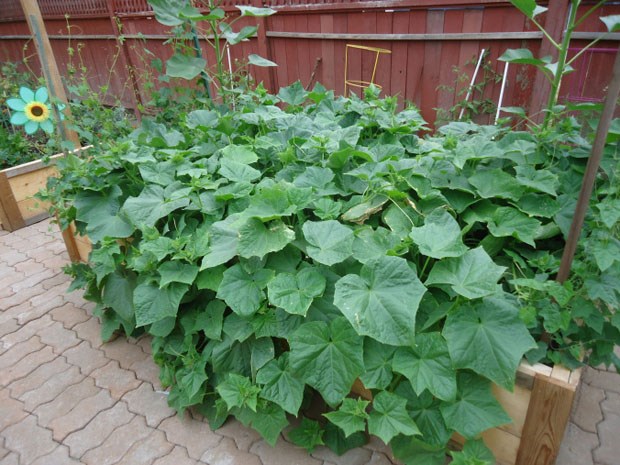
The soil arrived and it was a lot of work getting the beds filled up. Twelve yards filled our 4′ by 8′ by 20″ beds right to the top. Was it ready for planting? Not yet. Two weeks before planting I added two bags of steer manure to each raised bed and worked it in with a hand trowel. I never dig my amendments in with a shovel. I don’t like to disturb any insect life that may be happening below the soil surface. I left the beds for two weeks and let the rain move the nutrients into the soil.
Finally I had to get planting. My next step was to add some glacial rock dust to soil. I hadn’t used it before but I had watched the gardens belonging to West Coast Seeds thrive after applying it. I wanted to test it. Glacial rock dust adds minerals to the soil. It’s a fine dust so use it on a non windy day or you may wear most of it. I worked it into the top part of the soil.
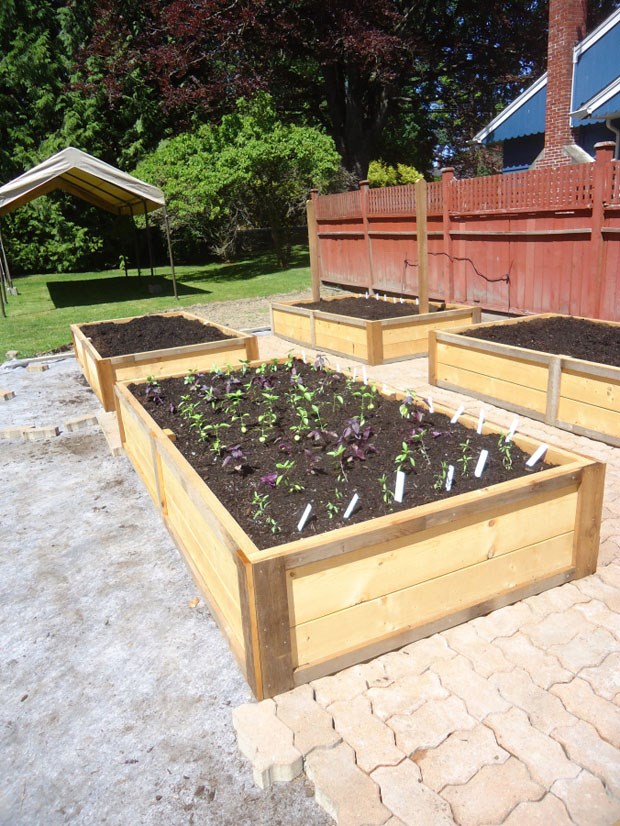
I brought the first of the plants out to the kitchen garden. I had been hardening them off for a week to get them used to the outside after growing in the greenhouse.
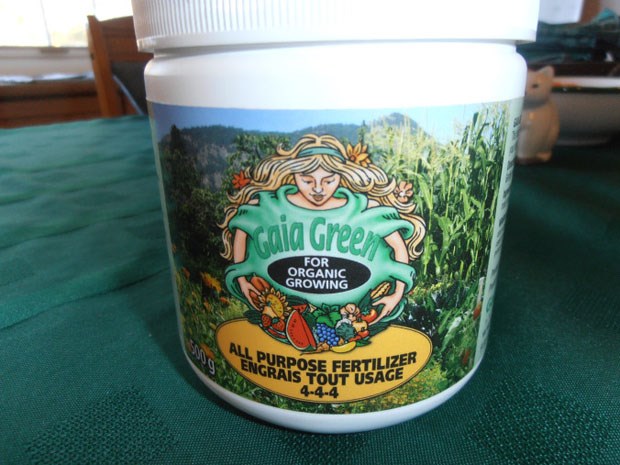
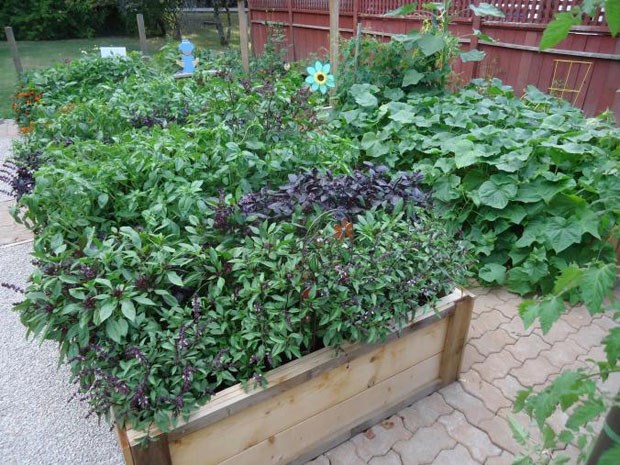
I grabbed a pail of Gaia Green organic 4-4-4 fertilizer. Under each plant I worked a pinch of 4-4-4 organic fertilizer into the bottom of the new planting hole. In went a plant and it was firmed in bringing the soil around it.
So that was last year. Will I do the same this year? Yes I will. This year I won’t have the huge cost of new soil so I should be able to break even.
Last season I tracked my harvests and how much it saved me last year. You can read the comparison here. In total the garden cost us about $1000 to build and fill with soil. If I can save hundreds of dollars in food costs I may break even this year. It’s also about the satisfaction I get in growing a tiny seed to the point of harvest and bringing it to the kitchen.
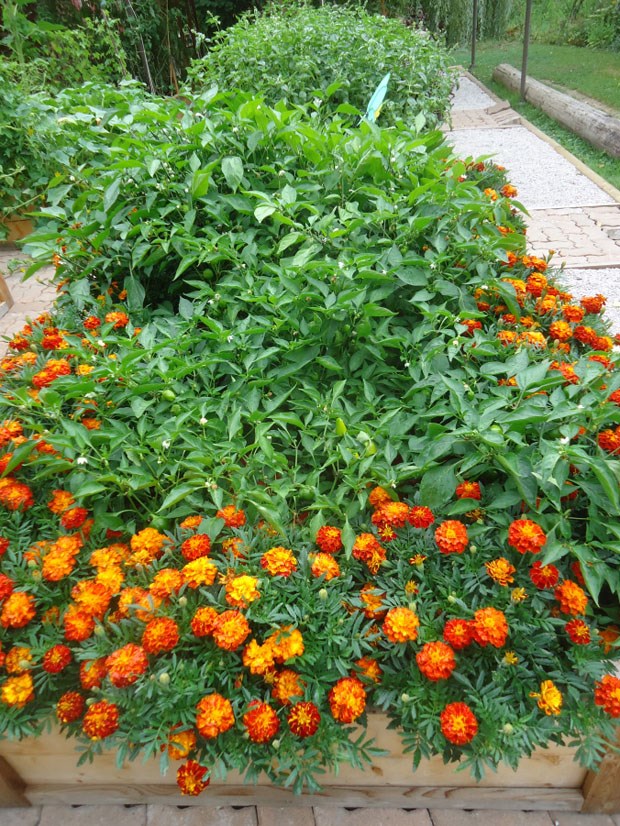
If you talk to several vegetable gardeners they have special ways they prepare their garden each spring. The way I do it may be very different from others. All I know is it worked for me. I do this routine at planting time and that’s it. All I did the rest of the growing season was water when needed.
Disclaimer: I am not being paid to promote any products. I love the product and would recommend it to anyone.

