My daughter called this morning asking if I could show her how to make a wreath. It was time to forage in my yard to see what we could use. Surely I would find some evergreens among the fifty odd trees scattered about the yard. We grabbed a basket and some secateurs and off we went. We picked some fir, willow branches, a few blueberry branches, some rosemary, cedar boughs, Skimmia with its red flowers and Osmanthus. Now I am not a florist so we were learning as we went along. I had seen some more rustic wreaths online and liked the look of them. I had a wire wreath form for my daughter to use as it was her first time and it would allow her something to use as a base.
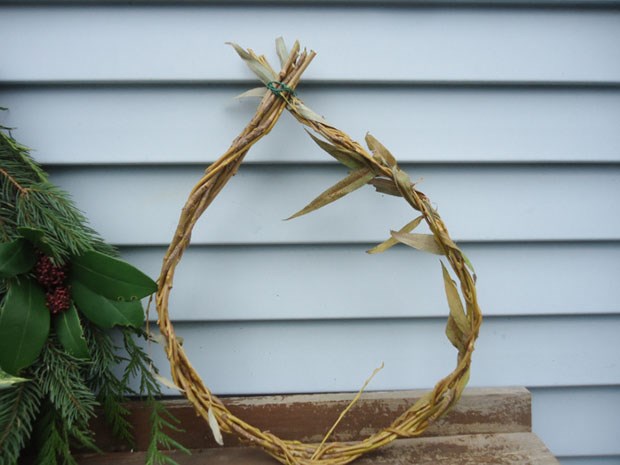
I picked long three to four-foot strands of willow branches and made my frame from them. I gathered several in one hand and lined the tops up. Next I twisted some green wire around the top to join them together. I had my daughter hold the top and I braided the rest by twisting the strands around each other. It’s not really a braid but made a nice thick base to work from. I wired the end back into the top of the willow strands. I didn’t worry about removing the leaves left on the stems as they will be covered anyway.
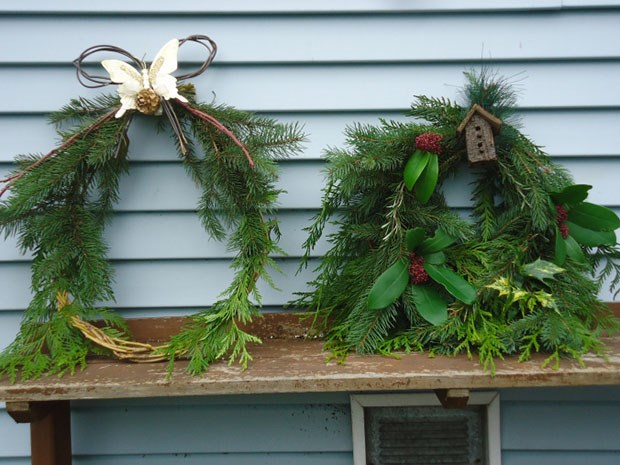
I didn’t take photos while we made them but have the completed wreaths above. I added some fir and cedar to the upper parts of the willow wreath by tying it in with waxed floral string. The string is hidden by overlapping branches. I was looking for a more natural look for this wreath and left the bottom uncovered so the yellow hues of the willow would show.
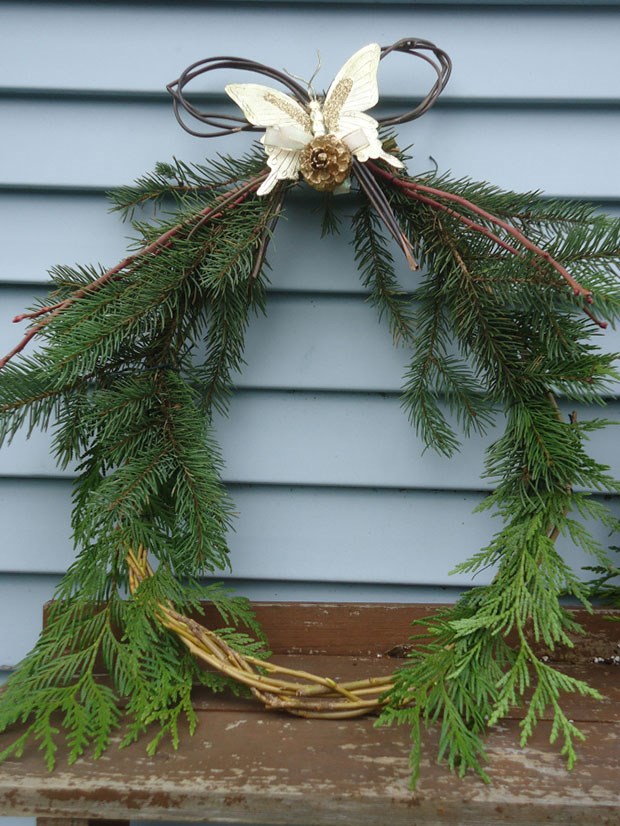
I added a tiny twig bow I found at the local thrift shop for 50 cents and tucked in a couple of red blueberry branches. Its plain and simple, just how I wanted it.
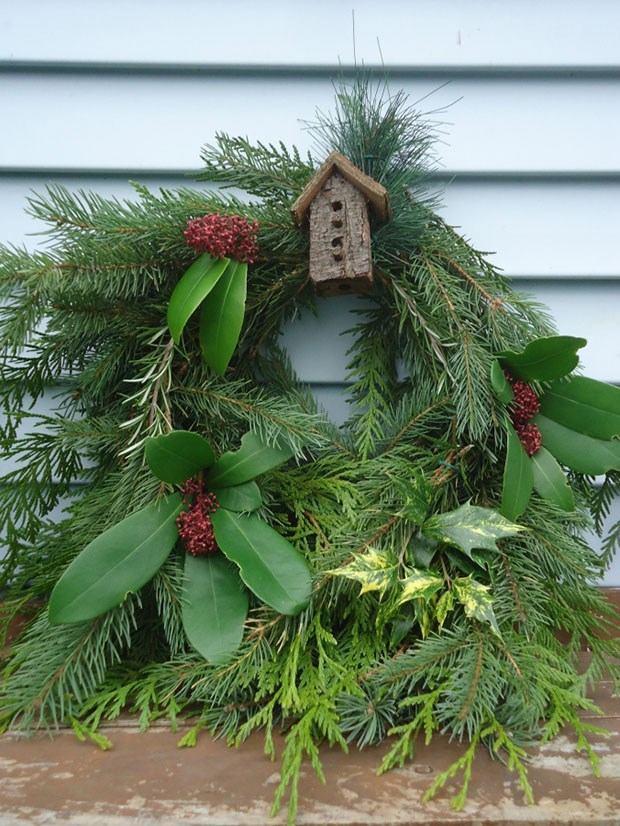
This was my daughter's first wreath. Yes, we could have gone to the garden centre and bought one but why spend the money if you have the greens in your garden? We didn’t have oasis to use so we just wired branches on to the frame. Evergreens last well and there are lots more where they came from if we need to freshen up the wreath. She started by wiring on a layer of cedar branches around the base. Cedar can be very thin so the next layer was fir. Hmm… that could be spruce, not sure. When adding greenery you want to make sure you cannot see the base so its best to add lots of greenery. Once the greenery was in place she wanted to add some colour. I suggested using the Skimmia flowers. She turned and looked at me and said that she always likes to do things in threes. Okay, that made me do a double take. She went on to talk about how if you are braiding a horses tail or mane (she has a horse) you always braid in odd numbers and three or five always work best. It was then that I told her she had an eye for design as that’s how good plantings are done. We need to do more of these mother-daughter do it yourself mornings. The last touches were to add some sprigs of Osmanthus as it resembles holly and add the tiny bird house to the top. Now all that is needed is to hang it up.
Cost for the wreaths was $1 for the bird house and bow that we used. The rest was free and the time was priceless.


